 Black friday 50% Off:
Quick Dessert Display Ideas with Dollar Tree Cupcake Stands
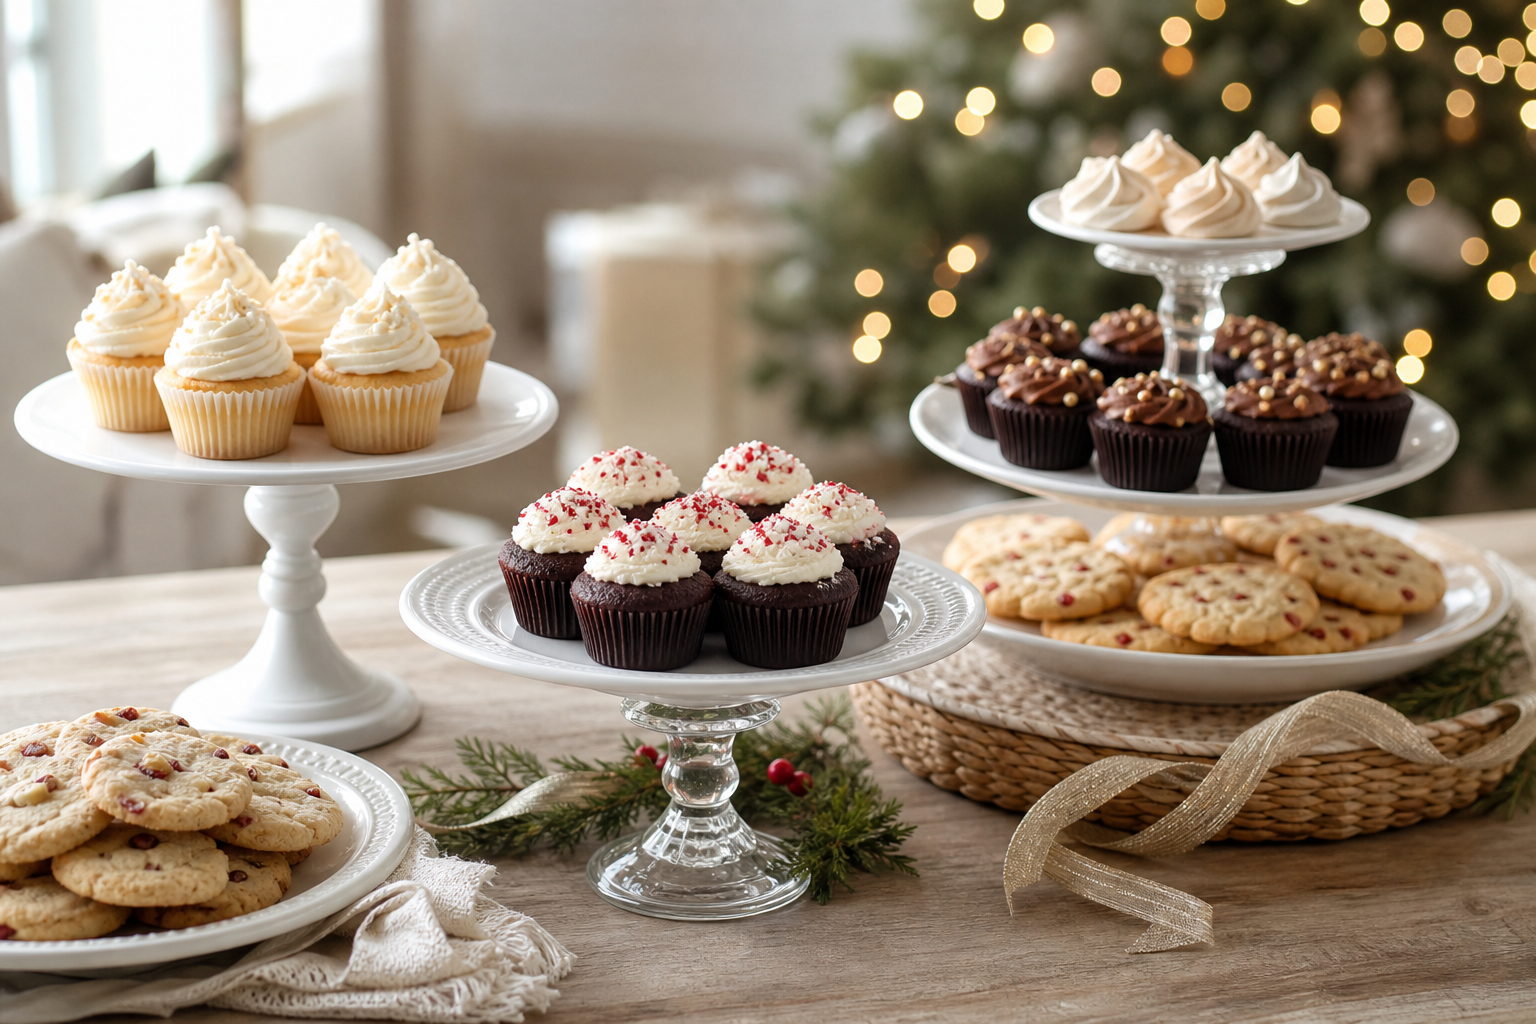
Turn a cupcake stand Dollar Tree find into a memorable centerpiece by mixing quick DIY builds—like a plate + candlestick pedestal, the trendy plate + bowl $2 hack, or stacked pizza‑pan tiers—with simple styling. Group treats by color or type, add ribbons or paper accents, and use liners/doilies on painted or decoupaged surfaces. Keep loads light and allow adhesives to cure fully.
Key Takeaways
- Mix simple DIY pedestals (plate + candlestick or bowl) with store stands for easy height and variety.
- Style by color story or treat type, and add low‑cost accents like ribbon, scrapbook paper, or mini signs.
- Build vertical interest with 2–3 levels; leave negative space so desserts photograph cleanly.
- Hand‑wash DIY stands, let glue cure, and line any painted/decoupaged surfaces.
- For larger or upscale events, consider a modular tiered display platform for flexible layouts.
Quick Dessert Display Ideas with Dollar Tree Cupcake Stands
Budget‑friendly stand builds you can copy
- Single pedestal classic: Glue a glass candlestick to a plate for a simple cupcake perch. Clean parts first, center carefully, and let the adhesive cure as directed. Hand‑wash only.
- The $2 plate + bowl hack: Invert a bowl as a base and glue a plate on top for a modern, minimal stand. Ideal for cupcakes, cookies, and favors.
- Easy multi‑tier tray: Stack a pizza pan, pie pan, and cake pan separated by glass candlesticks for 2–3 levels. Paint first if desired, then glue; mark the centers to avoid wobble.
- “Floating” look supports: Use plastic goblets or coupe glasses as risers for airy, see‑through stands. Keep supports centered and at least a couple inches high for balance.
Safety and care notes shared by DIY makers: allow adhesives to cure fully; hand‑wash; and use cupcake wrappers, doilies, or a clear plate/liner over painted or decoupaged tops.
Easy ways to style the treats
- By color: Arrange rows from light to dark (e.g., lemon bars → vanilla cupcakes → chocolate cupcakes) or repeat 2–3 brand colors across wrappers and napkins.
- By type: Give each tier its own category—cupcakes up top, cookies in the middle, macarons or candy cups on the bottom.
- By theme: Use seasonal patterns (sunflower, winter plaid, Mediterranean blue) on plates or paper liners to set the mood fast.
Quick custom touches
- Ribbon collars: Wrap ribbon or twine around pedestal joints or tray rims.
- Paper toppers: Punch circles from scrapbook paper for fast, coordinated toppers.
- Mini signs: Label flavors on small cardstock tents or clip‑on tags; add icons for dietary notes.
- Vignette base: Rope‑wrapped or gift‑wrap‑covered pizza pans make great low trays beneath smaller stands.
Creative Themes for Dessert Display Tables
Color‑coordinated holidays and birthdays
- Holidays: Pick two main hues (e.g., red + gold, pastel spring tones) and repeat them in wrappers, napkins, and paper accents. Keep variety modest so the palette reads clearly in photos.
- Birthdays: Echo the invite or candle colors across stands and backdrops. One hero element (a topper or backdrop) can carry the theme while everything else stays neutral.
Floral or garden party
- Layer faux florals or greenery around pedestals and use a simple kraft‑paper runner. Add edible flower toppers or floral‑patterned liners.
Rustic dessert bar
- Combine rope‑rimmed trays, jute twine bows, and kraft labels with white or galvanized‑look tiers. Use wood‑tone serving boards as a flat base beside your cupcake stands.
Elegant minimal
- Keep to black, white, and one metallic accent. Mirror tiles or acrylic sheets under a few treats add reflection without clutter. Uniform wrappers and neat spacing do the heavy lifting.
Children’s party fun
- Assign each tier a character color or icon. Use bright paper flags for labels and scatter confetti only on non‑food surfaces. Favor cups on the lowest level help with quick grab‑and‑go.
Labeling ideas: mini frames with printed flavor cards, washi‑tape flags on toothpicks, or a small menu board listing the sweets and any allergens.
Maximizing Display Impact: Space‑Saving and Visual Tips
- Build up, not just out: Use 2–3 distinct heights (pedestals + low trays) to create a clear visual hierarchy. Taller elements toward the back, medium in the middle, low in front.
- Balance across the table: Mirror one tall element with a cluster of smaller items on the opposite side. Leave negative space so the focal cake or top tier stands out.
- Backdrop and base: Size a simple backdrop roughly to table width, and use a floor‑length cloth to hide boxes that act as hidden risers.
- Flow and access: When possible, allow two‑sided access to reduce lines. Place labels near each treat to speed self‑serve and clarify dietary notes.
- Timing: Set décor and stands first; bring out perishable or melt‑prone desserts closer to serving time. Refrigerate as needed until display.
- Sanitary, photogenic portions: Individually wrapped items, donut walls, or boxed minis look great and minimize crowding at the table.
- Small sparkle: Mirrored tiles or metallic paper under a few items can punch above their price visually. Use sparingly so they highlight, not distract.
Note on limitations: Light, budget stands are perfect for cupcakes, cookies, and favors. Avoid overloading DIY builds or using them as heavy, multi‑tier cake supports.
Modular Inspiration: When to Explore Advanced Display Platforms
If you’re styling a larger celebration or want a reconfigurable centerpiece that goes beyond a typical cupcake stand, a modular tiered display platform can help. Momentree’s Holiday Display Tree is a reusable modular display platform that can be restyled for dessert and cake display applications, weddings, birthdays, seasonal décor, and more. It features six round display tiers supported by a black metal center structure and a cross‑shaped metal base with rolling wheels. The complete configuration stands 78 inches tall when fully assembled, and you can adjust the assembled height by using fewer tiers.
This is not a Dollar Tree product, nor is it necessary for most home dessert tables. But for upscale events or when you need a single statement piece you can reconfigure for different occasions, explore the Holiday Display Tree.
Momentree Expert Tip: Elevate Dessert Presentation on Any Budget
Build a simple three‑level composition before you place any sweets: one focal element high (a cake or themed topper), medium‑height pedestals flanking it, and low trays front‑and‑center. Then repeat two or three textures—matte linens, glossy wrappers, and a hint of metallic or mirror—to unify the scene. Add clear, small labels for flavors and dietary notes, and keep perishable treats off the table until serving time.
Frequently Asked Questions
How can I decorate a Dollar Tree cupcake stand for a birthday party?
Wrap ribbon around the pedestal, add a paper garland to the rim, and match cupcake wrappers to the party colors. Use a mini sign for the birthday person’s name and keep one standout topper on the highest tier.
What are simple ways to customize a cupcake stand for different holidays?
Swap in seasonal plates or liners (pastels for spring, bold red/gold for winter) and layer themed paper circles on the stand top. Add small, non‑food décor—like faux greenery or confetti—around, not on, the food surface.
Can I use multiple Dollar Tree cupcake stands for a large dessert table?
Yes. Mix several single pedestals with a few low trays and one simple multi‑tier to create height and capacity. Keep loads light, space items evenly, and hand‑wash DIY builds. Use liners over any painted or decoupaged surfaces.
What’s the difference between a modular display stand and a cupcake stand?
A typical cupcake stand or DIY pedestal is great for small, lightweight treats and fixed layouts. A modular tiered display platform, like Momentree’s Holiday Display Tree, is a reusable multi‑tier structure you can configure with different numbers of tiers and restyle for many events.
How do I safely stack desserts on light, budget‑friendly stands?
Mark centers before gluing, allow adhesives to cure per instructions, and keep treats light (cupcakes, cookies, macarons). Place taller items toward the back, use level tables, and avoid crowding to reduce tipping risk.
Are modular displays like Momentree’s Holiday Display Tree suitable for home parties?
They can be, especially when you want one centerpiece you can restyle over time. The Holiday Display Tree is a modular display platform with six tiers that can be assembled with fewer tiers when you want a smaller footprint. Use it indoors or in covered outdoor areas and secure the structure before event use.
What creative materials work well to style a cupcake display?
Ribbon, scrapbook paper, washi tape, faux florals/greenery, mini frames for labels, neutral linens, and mirror tiles or metallic paper for small highlights. Thrifted plates and bowls make great DIY pedestals.
How do I keep dessert displays stable at events?
Use a level table and floor‑length cloth to hide sturdy risers. Place tall items at the back, label clearly to speed traffic, allow two‑sided access when possible, and keep open flames away from any décor. If you use DIY stands, hand‑wash and avoid overloading.
Related Guides
Sources and Further Reading
- The $2 Dollar Tree Cake Stand Hack Everyone Is Doing Right Now — The Kitchn
- The Cutest Dollar Store Cake Stand DIY for Any Celebration — Mod Podge Rocks
- DIY Cupcake Stand (or Cake Stand) — Mod Podge Rocks
- How to Make a Dollar Tree Tiered Tray — Sew Very Crafty
- DIY Christmas Tray Using a Dollar Tree Pizza Pan — The Crazy Craft Lady
- How To Make A DIY Cake Stand From A Plate And Bowl — Exquisitely Unremarkable
- DIY Serving Stand Created for Under $8 (updated 2025) — Diana Rambles
- 36 Wedding Dessert Table Ideas — The Knot
- 13 Tips For A Tempting Cake Table — The Knot
- Dessert Table Presentation: Groups, Rows, Levels — Party Ideas by a Pro
- How to Style a Dessert Table: The Complete Guide — iDo Events
- The Buffet‑Style Dinner Don’ts to Always Avoid — Martha Stewart
- How to Style a Picture‑Perfect Dessert Table on a Budget — Sweet Tee Artistry


