 Black friday 75% Off:
Quick Answer: How to Make a DIY Cake & Cupcake Stand
Build a simple stand by bonding a plate or wood round to a sturdy pedestal (e.g., candlestick) with a permanent adhesive, centering and leveling carefully, and letting it fully cure. For multi-tier towers, stack platforms using rods or PVC spacers and hardware, tightening everything level. Always test stability, use food-safe barriers (cake boards, liners) on non-certified surfaces, and consider a modular tiered display platform for reusable setups.
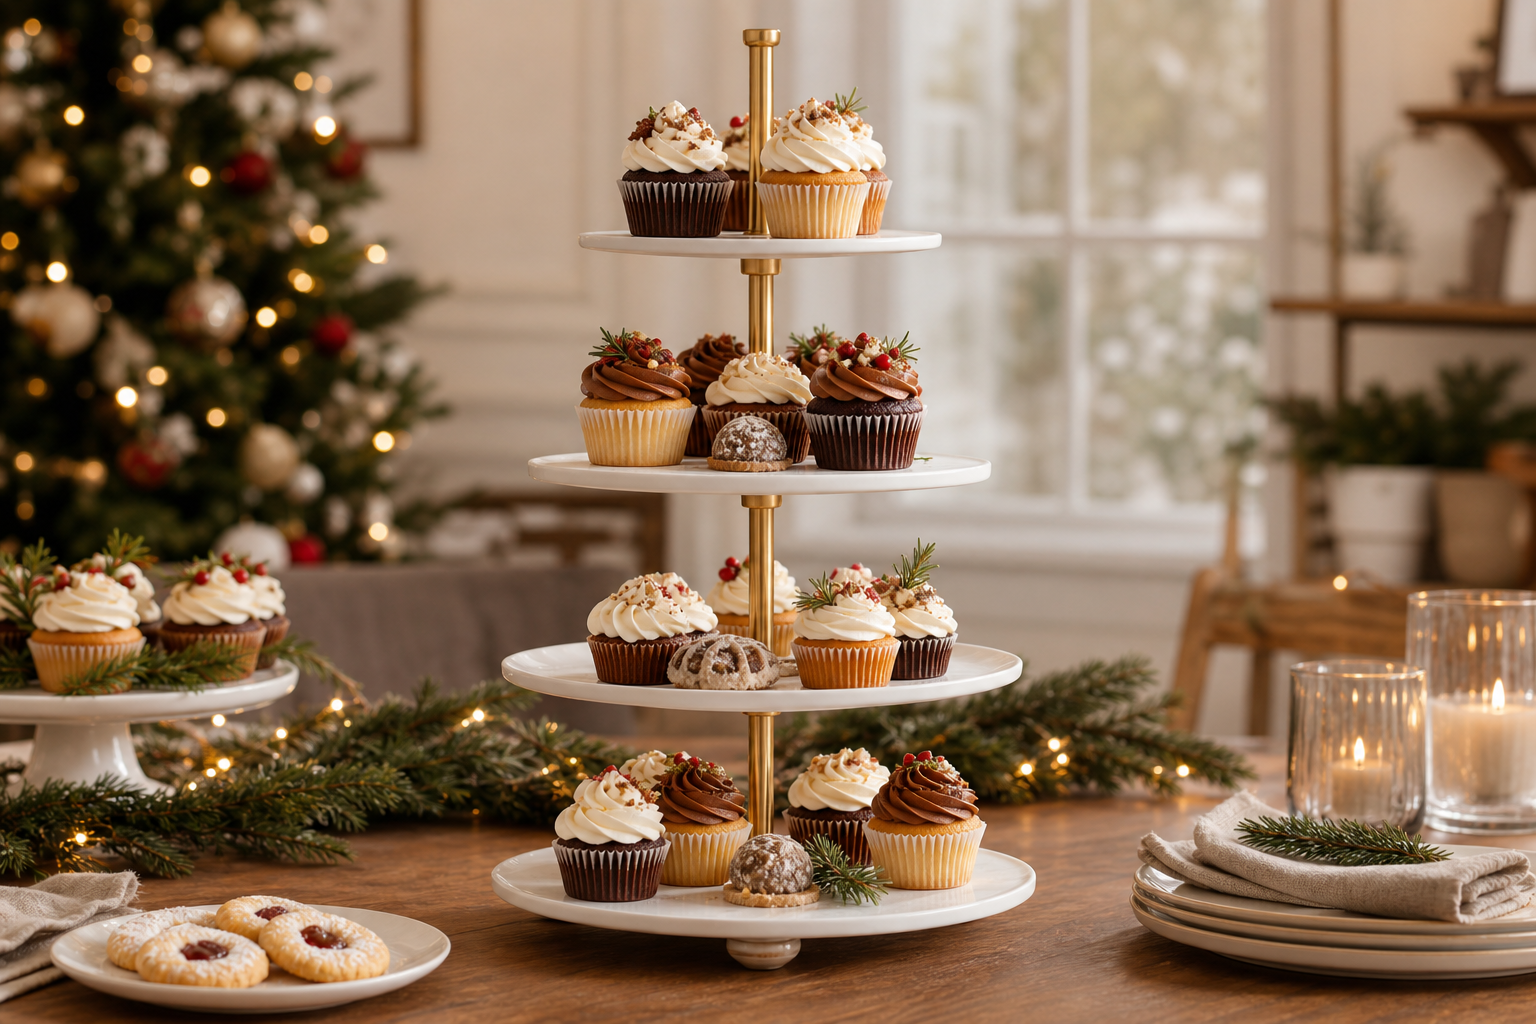
Key Takeaways
- You can make a diy cake cupcake stand from plates and candlesticks, wood rounds with pedestals, or multi-tier rod/PVC towers.
- Leveling, proper adhesive cure (often 24–72 hours), and even loading are essential for stability.
- Use cake boards, doilies or parchment as barriers on painted/unfinished or non-certified surfaces; keep perishable desserts within safe time windows.
- A modular tiered display platform (such as the Momentree Holiday Display Tree) can be configured for dessert and cake displays; it’s a reusable display platform, not a traditional food-contact-certified cake stand.
Materials and Tools Needed for Your DIY Stand
Choose a build approach based on your event, available tools, and budget. Below are common options and what you’ll typically need.
-
Plate + pedestal (single tier)
-
Materials: ceramic/glass plate, sturdy candlestick or pedestal, permanent adhesive (commonly used: E6000), non-skid pads.
-
Tools: alcohol wipes (surface prep), ruler/compass (centering), bubble level, painter’s tape/clamps (optional).
-
Wood pedestal stand (single tier)
-
Materials: wood round/plywood circle, wooden pedestal/dowel + base, wood glue, screws, cake board or liner for food barrier, non-skid pads.
-
Tools: drill/driver, sandpaper, finish/sealant for non-contact areas, bubble level.
-
Rod/PVC multi-tier cupcake tower
-
Materials: multiple round/square platforms (wood/MDF/acrylic/foam board), threaded rod or PVC sections + couplers, nuts/washers/spacers, decorative edge trim, cake boards/liners.
-
Tools: drill with center-hole bit, wrench/screwdriver, measuring tape, bubble level.
-
Acrylic kit tower
-
Materials: acrylic plates with center holes, spacers/rods/screws supplied with kit, soft cloth for cleaning.
-
Tools: screwdriver/hex key per kit, microfiber cloth, bubble level.
-
Cardboard/foam board (budget/temporary)
-
Materials: multiple discs (laminated for strength), risers (covered cans/foam tubes), hot glue/double-sided tape, decorative wrap, liners.
-
Tools: craft knife + cutting mat, ruler, hot glue gun, tape.
-
Helpful extras for any build: non-skid shelf liner, painter’s tape for dry-fitting, cake boards/doilies/parchment, labels/tent cards, soft cloths for cleanup.
If you prefer a reusable, configurable solution, a modular tiered display system may fit. For example, the Momentree Holiday Display Tree is a reusable modular display platform with six round display tiers that can be configured for dessert and cake displays when styled appropriately.
| DIY Build Type | Typical Materials | Best For | Notes |
|---|---|---|---|
| Plate + Pedestal | Plate + candlestick + adhesive | Fast single-tier cake or pastry display | Clean, center, level; allow full adhesive cure before use |
| Wood Pedestal | Wood round + pedestal + screws/glue | Rustic/solid single-tier display | Use barriers if finish isn’t proven food-safe |
| Rod/PVC Tower | Multiple platforms + rods/PVC + hardware | Multi-tier cupcake towers | Drill center holes; tighten hardware; check level |
| Acrylic Kit | Acrylic plates + kit hardware | Clear, modern multi-tier display | Hand-wash only; assemble per instructions; level plates |
| Cardboard/Foam | Paperboard discs + risers + glue/tape | Budget, lightweight desserts | Best for temporary use; reinforce layers |
Step-by-Step Instructions: Building a DIY Cake & Cupcake Stand
Step 1: Plan your design
- Decide single-tier vs multi-tier, approximate diameters, and dessert count. Avoid promising weight limits; stability depends on materials, build quality, and even loading.
- Sketch your layout and note where center holes or pedestals will attach.
Step 2: Prep and dry-fit
- Clean/degrease contact surfaces with alcohol and let dry.
- Mark exact centers on plates/tops; dry-fit pedestals/rods to verify alignment.
- Place a bubble level on the top surface during test fits.
Step 3: Build a single-tier plate + pedestal stand
- Apply a continuous bead of permanent adhesive to the pedestal’s rim.
- Align to the plate’s center mark, press firmly, and check level.
- Tape or lightly clamp to prevent shifting; re-check level.
- Let the adhesive fully cure per manufacturer guidance (often 24–72 hours, depending on thickness, temperature, and humidity).
- Add non-skid pads under the base; use a cake board or parchment on top if the finish isn’t food-contact certified.
Step 4: Build a multi-tier rod/PVC cupcake tower
- Cut or select platforms (all with centered holes for rods/PVC).
- Thread rod or insert PVC sections with washers/spacers between tiers; finger-tighten hardware.
- Check level at each tier; adjust spacers as needed.
- Fully tighten hardware while keeping tiers square and level.
- Add decorative trim to edges if desired; test stability before loading desserts.
Step 5: Assemble an acrylic kit tower (if using a kit)
- Follow the kit diagram to stack plates, spacers, and screws in order.
- Tighten gently to avoid cracking and confirm each plate sits level.
- Hand-wash components; avoid abrasive cleaners.
Step 6: Finish and safety checks
- Add non-skid liner under the stand base and inside transport boxes.
- Use cake boards, doilies, or parchment on any painted/unfinished/non-certified surface.
- Distribute desserts evenly across tiers and keep the table surface flat and sturdy.
- Keep open flames at a safe distance; consider flameless/LED options near decorations.
Styling, Decorating, and Customization Ideas
- Create height variation: place the main cake or focal dessert high, then cascade cupcakes and minis on lower tiers and nearby platters.
- Choose a cohesive palette: repeat colors across stands, linens, toppers, and florals for a polished look.
- Add a simple backdrop: fabric, greenery, or signage frames the display and improves photos; check sight lines from guest approach angles.
- Mix materials thoughtfully: combine ceramic/glass with wood or metal while keeping finishes coordinated.
- Keep it guest-friendly: label desserts clearly, leave negative space for serving tools, and stage refills out of sight.
Real-world application examples
- Birthday: Bright liners, a small top-tier cake, and themed toppers; keep candles well away from fabrics and stands.
- Wedding: Neutral palette with florals; consider multiple mini displays for flow; place liners/cake boards on any non-certified surfaces.
- Seasonal: Garlands or ribbons in event colors; keep flammable decor away from heat and open flame.
Common Mistakes and Tips for Better Results
- Skipping cure time: Don’t load glued joints until fully cured per adhesive instructions.
- Poor leveling: A slightly tilted tier can tip when loaded. Level during assembly and again after moving the stand.
- Overloading: DIY stands don’t have standardized ratings. Distribute weight evenly and do not stack heavy items on small top tiers.
- Food-contact confusion: Many paints/finishes aren’t intended for direct food contact. Use cake boards, doilies, or parchment as barriers.
- Transport trouble: Keep stands flat on the vehicle floor with non-skid matting; avoid slanted seats.
- Buffet safety: Perishable desserts with dairy/egg should not sit at room temp longer than 2 hours (1 hour above 90°F). Rotate small platters from refrigerated backups.
Momentree Expert Tip
- Using a modular display stand? For the Momentree Holiday Display Tree, assemble from the base upward, add tiers progressively, and secure the structure firmly before event use. If anything feels wobbly, ensure all screws are tightened and place the base on a truly level surface. Keep the structure away from open flames/high heat, use it indoors or in covered outdoor areas, and do not exceed the product’s weight guidelines.
Alternatives: Using Modular Tiered Display Stands
A modular tiered display stand offers reusability and reconfiguration across events. The Holiday Display Tree by Momentree is a reusable modular display platform with six round display tiers. It can be configured for dessert and cake displays and restyled for weddings, birthdays, or seasonal scenes. Assembly builds upward from the base by connecting the center support and adding tiers progressively; you can change assembled height by using fewer tiers. It’s a display platform (not a traditional food-contact-certified cake stand), so use plates, trays, or cake boards/liners on the tiers when presenting desserts. The stand can be disassembled for flat-pack storage between events.
Frequently Asked Questions
What materials are best for building a sturdy DIY cake or cupcake stand?
For single tiers, a plate plus a sturdy candlestick pedestal with a permanent adhesive works well. For towers, use wood/MDF platforms or acrylic kit plates with threaded rod or PVC spacers and proper hardware. Whatever you choose, prep surfaces, center accurately, and use a bubble level and non-skid base pads.
How can I make a multi-tier dessert display at home?
Stack platforms with threaded rod or PVC risers: drill centered holes, add spacers/washers between tiers, and tighten hardware while keeping each level square and true. Acrylic kits provide pre-drilled plates and hardware; follow the included diagram and hand-wash components.
What safety precautions should I take with homemade cake stands?
Allow adhesive to fully cure before use, keep the base on a flat surface, load tiers evenly, and use barriers on non-certified surfaces. Keep open flames and heat sources well away from stands and decor, and follow time–temperature rules for perishable desserts.
Can I repurpose household items to build a cake/cupcake stand?
Yes—thrifted plates and candlesticks, shallow bowls as spacers, or covered cans/foam tubes can work for temporary stands. Reinforce layers, center carefully, and add liners/cake boards on top surfaces. Reserve vintage/decorative ceramicware not labeled for food use as non-contact or use a barrier.
Are modular display stands suitable for use as cake displays?
Yes, as display platforms. The Momentree Holiday Display Tree is a reusable modular display platform that can be configured for dessert and cake displays. It isn’t a traditional food-contact-certified cake stand, so place desserts on plates, trays, or cake boards/liners on the tiers.
How do I decorate a homemade or modular cake stand for different occasions?
Repeat your event palette across ribbons, toppers, and linens; add a simple backdrop; vary heights for a focal point; and label items for easy self-serve. For modular platforms, restyle the same base with different decorations across events.
What are the advantages of a reusable, modular stand versus a conventional cake stand?
Modular platforms can be reconfigured for different events and tier counts and restyled repeatedly, offering one platform for many display scenarios. They also disassemble for flat storage. Still use barriers for dessert presentation and follow all care and safety guidance.
Will a modular display stand like Momentree’s Holiday Display Tree support heavy cakes or large displays?
The Holiday Display Tree is stated to support over 220 lbs (100 kg) in total. Always follow weight guidelines, distribute items evenly, assemble on a level surface, and keep away from open flames/high heat. Do not infer per-tier limits; arrange heaviest items on lower, larger tiers.
Related Guides and Resources
- Explore the core Modular Tiered Display System
- Learn more about the Holiday Display Tree
- Browse the Tiered Display Stand category
- See seasonal application ideas like Christmas Village Display
Sources and Further Reading
- DIY: How to Make a Pedestal Cake Stand for Under $10
- DIY Cupcake Stand (plate + candlestick build)
- Cupcake Stand | Ana White (rod/PVC multi-tier plan)
- Acrylic Cupcake Tower – Care & Assembly (leveling and hand-wash)
- E6000 Industrial Adhesive – Cure time guidance
- FDA – Serving Up Safe Buffets (2-hour/1-hour rule)
- NFPA – Candle Safety Tip Sheet
- Wilton – How to Transport a Cake
- The Knot – 13 Tips for a Tempting Cake Table
- Martha Stewart – Dessert Table Ideas


